Your cart is currently empty!
Christmas Art and Fun

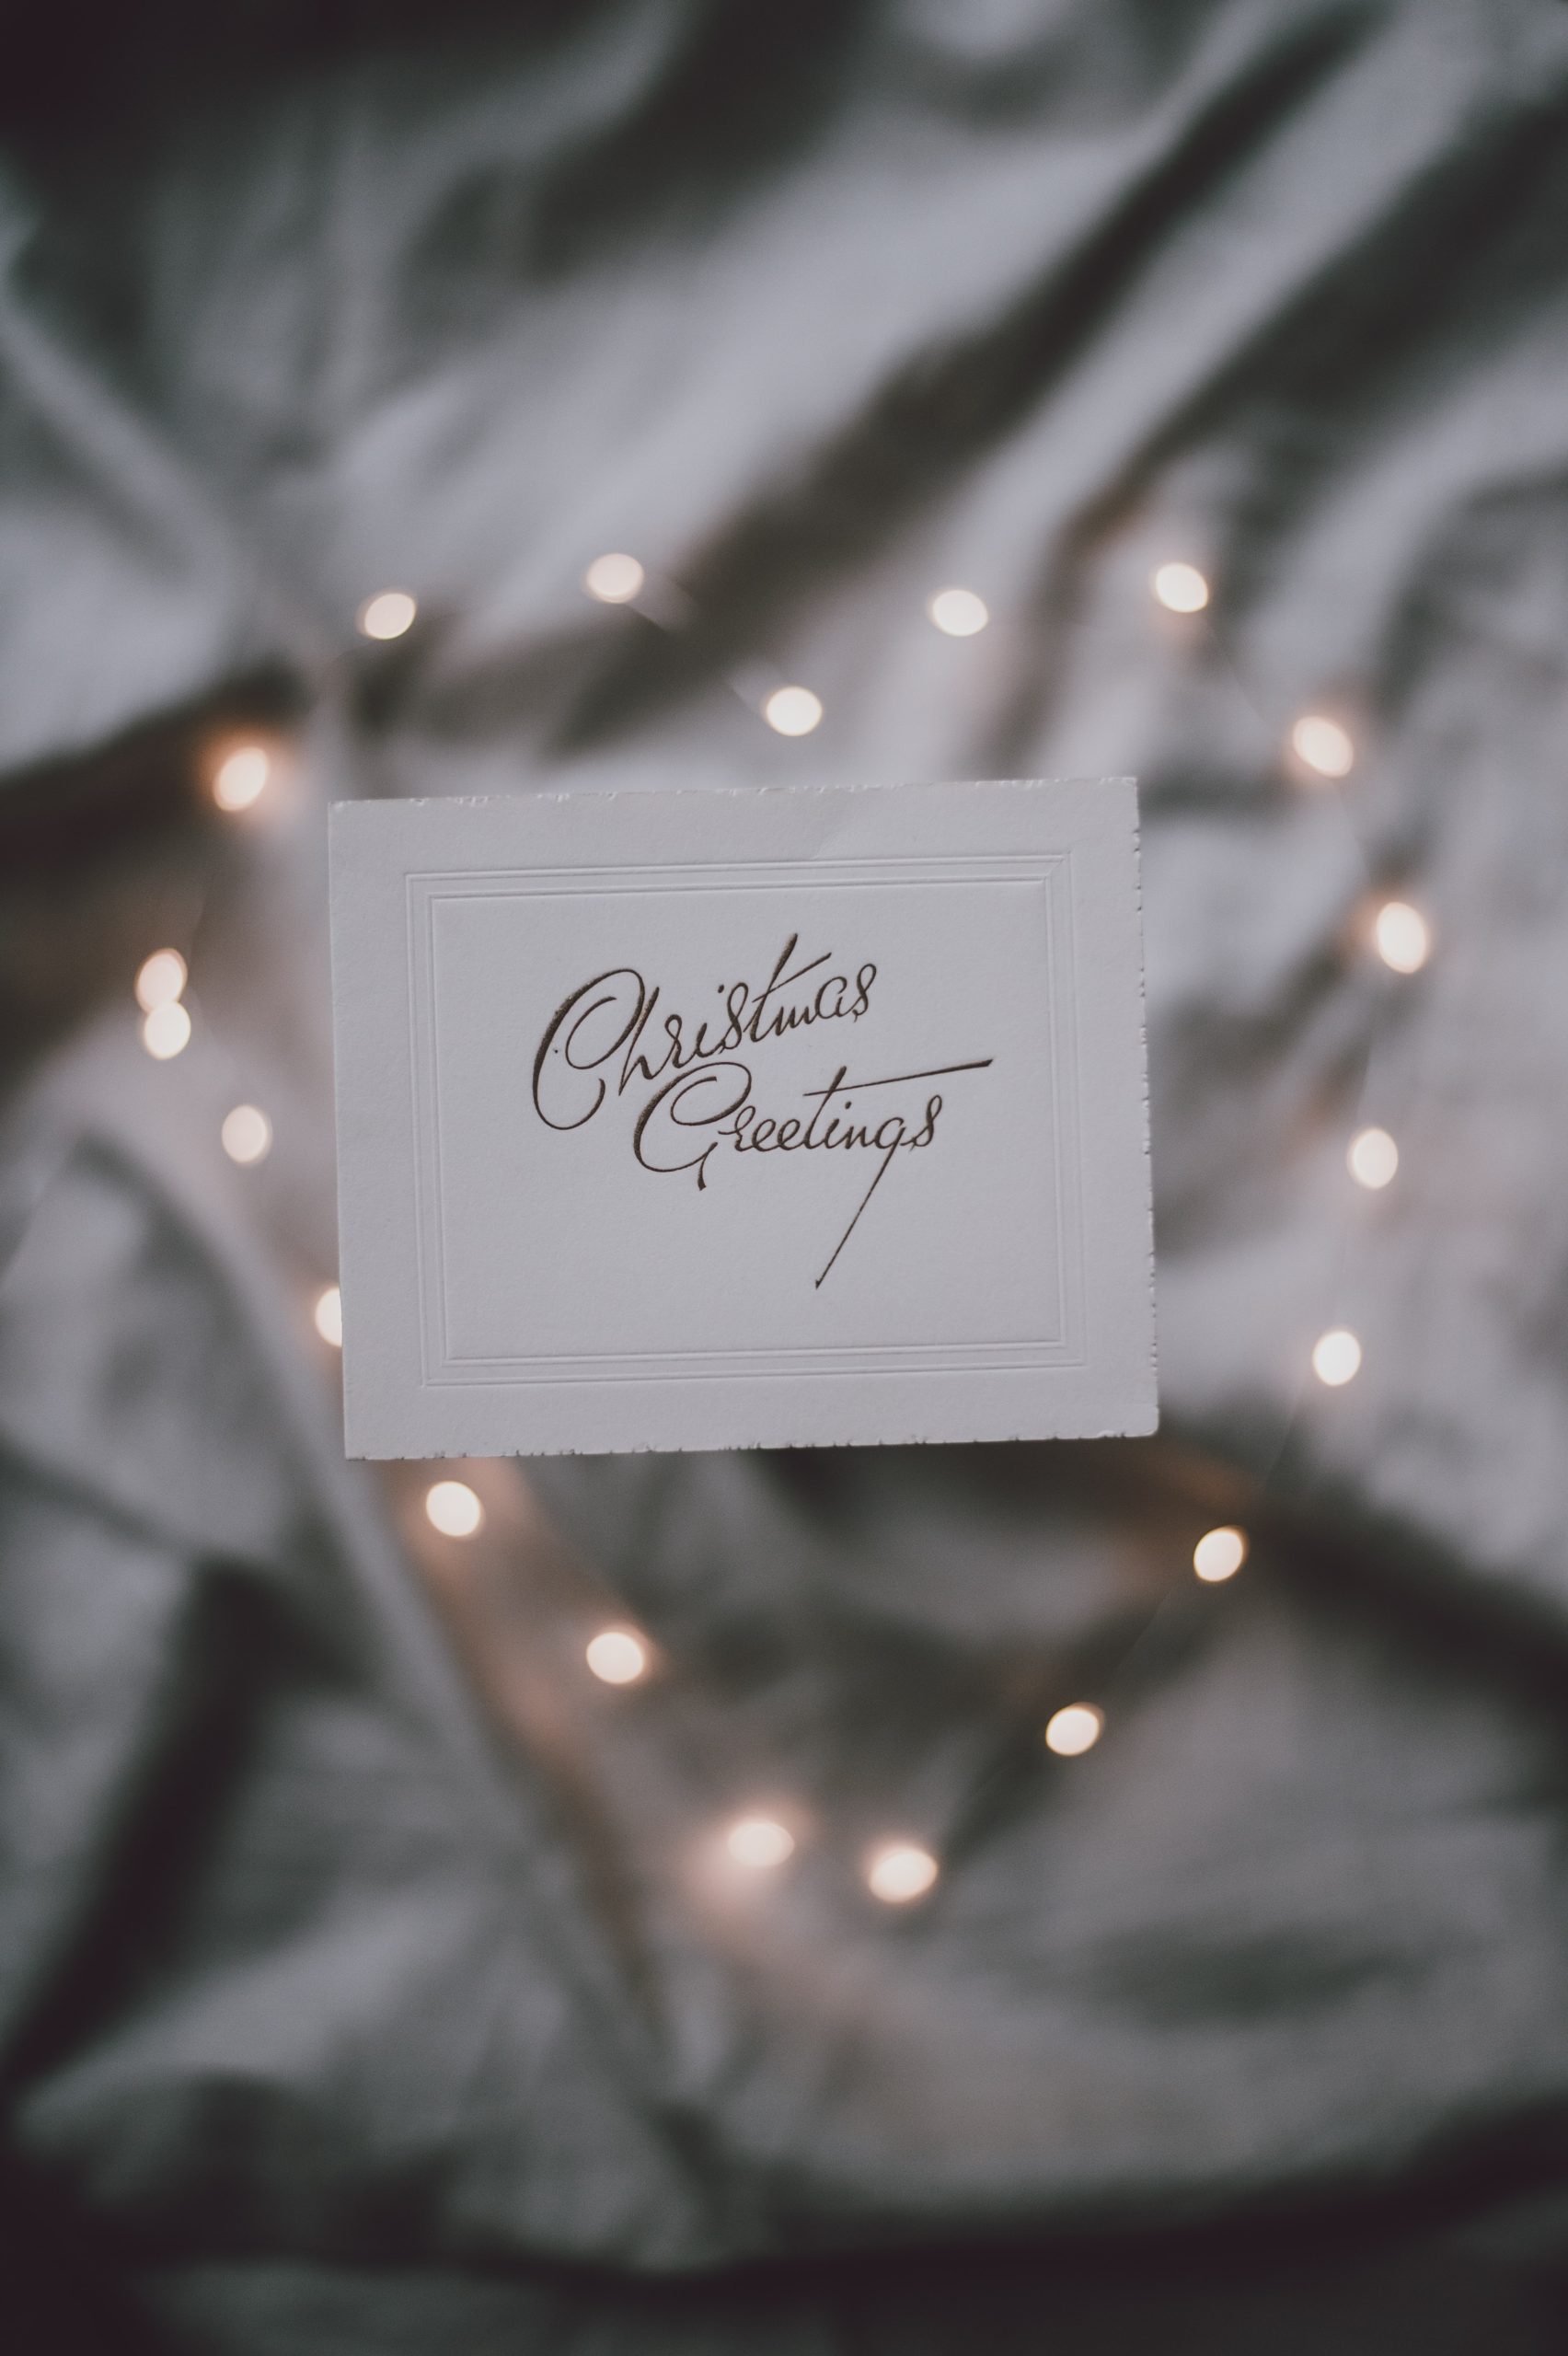
As a child, I loved making my own Christmas cards with construction paper and glitter. Many times my sisters and I would create cards for nursing home individuals and hand them out as we walked through the facility. I loved doing that. Reaching out to others.
Right now, reaching out is what we need to do as we all weather this pandemic and the shift in the ways we communicate. In this post, I want to show you how to create a beautiful hand made Christmas card and have fun doing that! We will learn to do three different types of cards: watercolor, collage and pencil drawing.
Have fun and let’s get creating!
Materials:
Pencils, colored and graphite
Watercolors, moist. Try these
Watercolor paper, cardstock
paper various colors
magazine images or old Christmas cards
Crayons
Acrylic Paint
Let’s Start!
Create your card by folding your cardstock or watercolor paper in half. If you’d like to create a card to specifically fit an envelope size you need to measure and cut to the size you need.
Next, you will start lightly sketching your design on the front of the card with a regular graphite pencil.
For watercolor don’t make the lines too dark, they are just a guide. For collage you won’t really need a line to start with it will be more free design. For pencil, you can sketch the outline of your subject.
Watercolor trees
To create some beautiful winter watercolor trees, take a small brush and create the center of your trees with one line. don’t make it too fat use a small, thin brush.
Then you want to take your watercolor brush and create fanned out branches if you are doing a fir tree. like this
Don’t smash your branches together but leave some whit space between the branches like this so that they appear more natural not blobby.
Then create shadows from your trees on the ground below. Add a little light blue to you brush and water it down alot. You can also use purple but very lightly.
You want to create an effect of shadow on snow.
Now that your trees are complete you can add some glitter or leave them plain. Add writing above or on the inside of your card for added fun and creativity.
Create a Collage
The next card we will create will be a collage. Gather you magazines, tissue paper and glue. You can also use pencils and watercolors for details later.
For now, start with selecting an image or paper color. tear, or cut to a shape you want and glue down. Add other pieces around and layered on top of the other ppieces of paper or images. You can paint over, draw on, or watercolor around your layers to add more creativity and interest. Add a special message inside.
Draw it Out
The last card will be done in pencil. You can use colored pencil or just plain graphite. I think I will use regular graphite pencil.
Choose a subject by looking for images on google or at photographs or set up a real subject in front of you like a present, or a pine tree bough. You can also make up an image like I did here.
Sketch the outline of your subject. As you go along begin adding detail and shade with the side of your pencil like this:
Finally, add a special message and some glitter or leave it plain.
There you go! I hope you enjoyed learning to create some great cards for the holidays! Let me know how your turned out!
Blessings of Beauty!
